

SCHOOL OF INSULATION - LESSON 2 - Insulation fixing
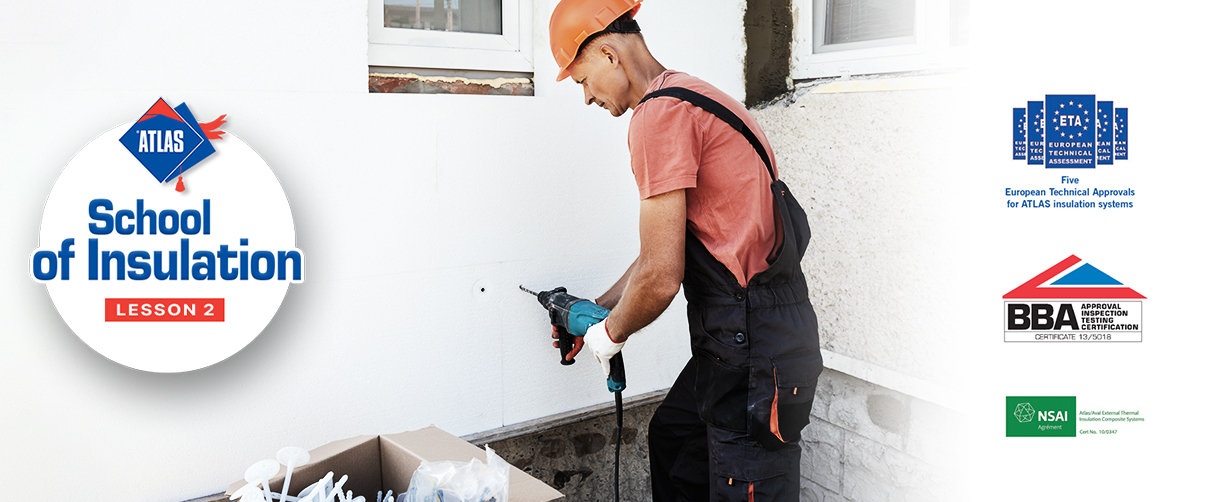
LESSON 2
FIXING THE INSULATION
In the first lesson we have shown how to prepare the building for insulation, and we discussed the first step which is to check and prepare the substrate under External Wall Insulation, i.e. thermo-insulation * - for new houses or thermo-modernization* - for existing houses.
In today‘s lesson we will deal with fixing the most commonly used external wall insulation, and show how to fix polystyrene and wool. At the beginning we must ask ourselves what insulation to use, and thus which system to choose? It is one of the key questions, because improper use of insulation material on a particular investment may bring more problems than benefits. The easiest solution is to proceed as stipulated in the project documentation, which clearly indicates a particular type of insulation.
But what if we do not have such information? Then the best solution is to contact with the persons of appropriate experience such as the Technical Advisors of insulation system manufacturers. Each case of thermal insulation or thermo-modernization must be considered individually, taking into account the state of the facade, type of building, its location, purpose, etc. This subject is so complex that to accurately explain the choice of insulating material, to show the properties and the construction of polystyrene and wool, explain where and on what substrates to use, this issue should be given to the full article, which we plan to present in one of the following lessons.
So today we will focus on the technology of insulation fixing.

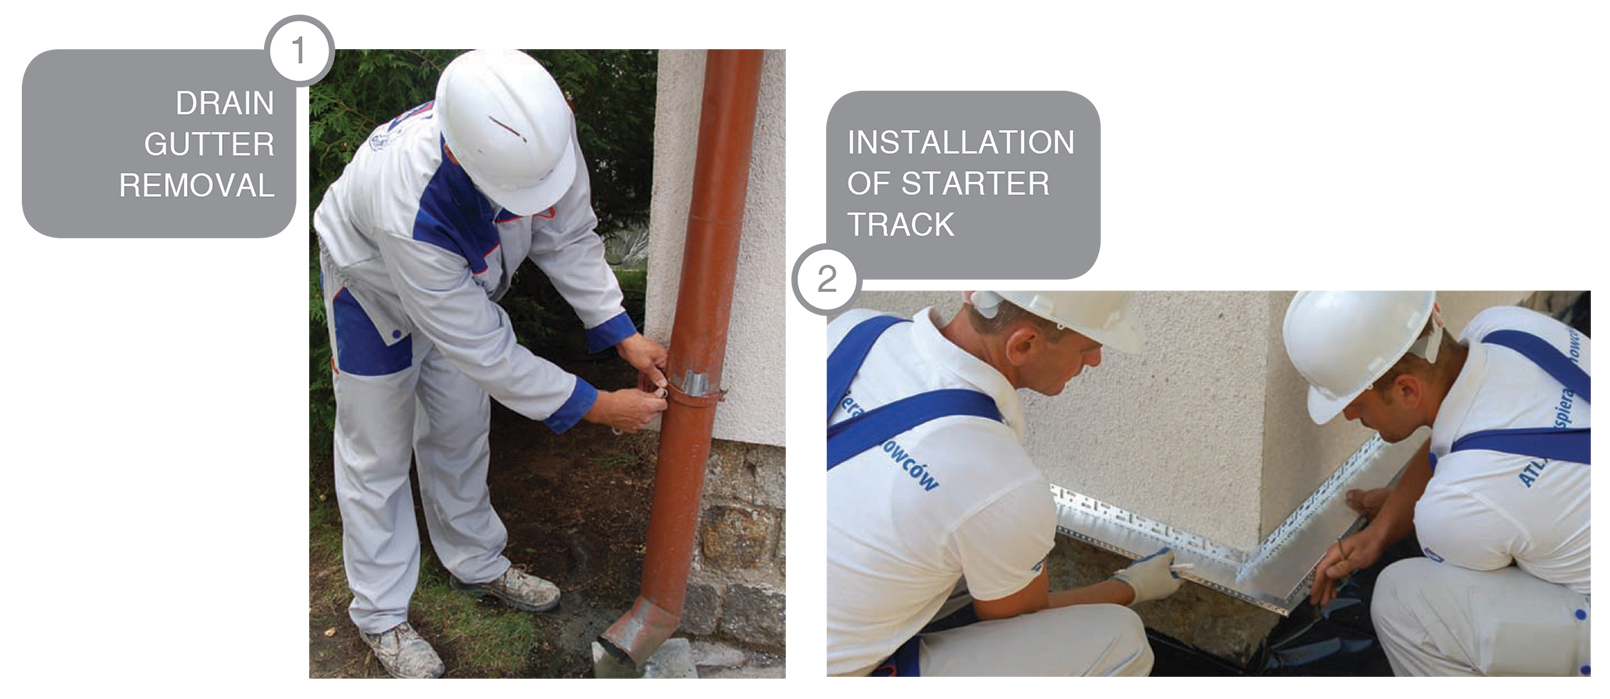
Before installing the insulation all the elements in the wall which hinder the substrate preparation and execution of insulation, such as: signs, advertisements, gutters and downspouts, shutters, lamps and window sills should be removed (il.1) . We start the installation of thermal insulation layer by determining the level of attachment of the first layer of insulation according to the design documentation or, (…) if you do not have such information, defining the socalled base, that is generally placed about 30 cm above the ground. This height eliminates the influence of the capillary moisture, which affects the stability of the system and protects the external render from mud dirt carried by drops of rain bouncing of the ground.
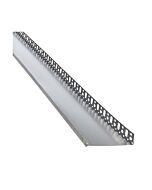
Install the starting strip to the wall at a designated altitude using mechanical fixings to form a band around the building which supports the insulation (il.2). Starting strip is not an obligatory system element, but it greatly facilitates the installation of the first insulation layer.
THE NEXT STEP IS TO ATTACH LAYERS OF INSULA-TING MATERIAL

Polystyrene boards are attached to the substrate mainly by using a mineral adhesive. For this purpose, we can use the adhesives designed for this purpose only, e.g, Atlas HOTER S/Aval KT 53 or the adhesives of universal use, such as Atlas STOPTER K-20, Atlas HOTER U, used both for fixing polystyrene and for basecoat.
Selection of a suitable adhesive is related to the type of building and its height, the quality of the substra- te, etc.
For instance Atlas STOPTER K-20 is used for in- sulation of difficult substrates, in low temperatures and increased humidity, Atlas HOTER S and Atlas HOTER U - for large projects such as multi-storey buildings.
The mortar is prepared by pouring it into the appropriate amount of cold water (the exact proportions are given on the packaging and product Technical Data Sheets) and stir until homogenous. After about 5-10 minutes (depending on the manufacturer’s recommendation) mix the mortar again so that it acquires the corresponding properties and is suitable for use.
The ready-to-use mortar adhesive is applied on the surface of the board with the ‘strip-point‘ method (il. 3). The circumferential ribbon of adhesive should be at least 3 cm wide. For the rest of the surface the mass should be spread in the form of patches of a diameter of 8 to 12 cm. The total area of adhesive applied should cover at least 40% of the board surface. The exact amount and the thickness of the adhesive layer depends on the state of the substrate and must be selected to provide the required adhesion.

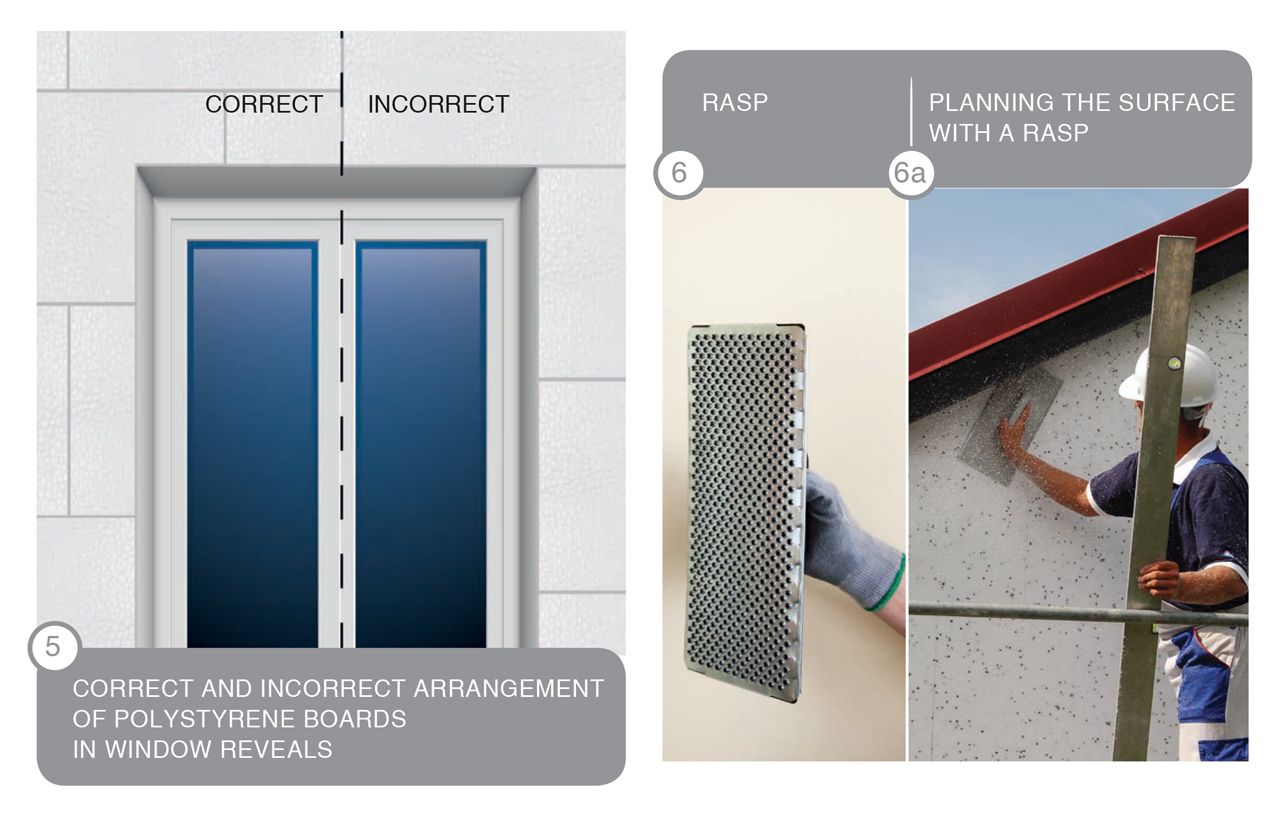
After applying the mortar on the board, place it on the substrate and press. The next board should be placed tightly next to so as to form a single plane. In order to avoid the thermal bridging *, large gaps between the boards should be filled with strips of insulation material, and small ones (up to 5 mm) with expanding foam (il. 4). Boards are arranged from the bottom to the top of an elevation, staggered in the so called brick’ on the wall surface and in the corners of the building. During the process of thermo-insulation works use the complete boards and their halves keeping their dressing. Do not use chipped, dented or broken boards. The key element is also a suitable arrangement of insulation boards in window reveals. Correct and incorrect solution is shown in the figure (il. 5)
The next boards should be carefully pressed to avoid faults and inequalities on the surface of insulation material, as they will be visible on the basecoat and the render surface. The resulting inequality should be carefully leveled with a sandpaper or rasps (il. 6 and 6a).

When using mineral wool use mortars dedicated to the wool such as Atlas Roker W, however the technology of preparing is exactly the same as in case of mortar for polystyrene. Wool application technology is different to some extent from bonding polystyrene. The main difference is the method of applying adhesive on the wool. Due to the hydrophobicity of the mineral wool it requires pre-filling (priming with adhesive) to form, so-called bonding layer. Then wool panels are applied same as polystyrene boards with the use of „strip-point“ method. The exception is the lamella wool which may be additionally factory pre-impregnated. This wool should be fully fixed by coating the entire surface with adhesive using a 10 mm notched trowel. Due to the reduced hardness of mineral wool compared to polystyrene, it should be applied on relatively flat substrates.
Accuracy of execution of this stage determines the aesthetics of the insulation. To limit the risk of excessive drying of the adhesive layer, avoid working in direct sunlight, exposing to rain and strong winds. Apply the layer of adhesive just before the board application.

The next phase of the insulation installation is fixing the insulation panels with the use of mechanical fasteners. And here comes the next question: pin it or not? To this question, as in the case of insulating material choice, answers can be found in the project documentation, which should specify in details the quantity, location, type and length of mechanical fasteners. Type of fasteners depends on the type of substrate, the height and type of building, insulation material used as well as the location (if it is exposed to wind).
It is generally recommended to use at least 4-5 fasteners per 1m². Fasteners length should result from the type of the substrate and the thickness of the insulation material. The depth of anchoring in various substrates should be consistent with the manufacturer‘s instructions and reference documents. When installing panels on the existing thermal insulation, the use of fasteners is certainly obligatory. It is also recommended to use fasteners when the thickness of EPS extends 15 cm.
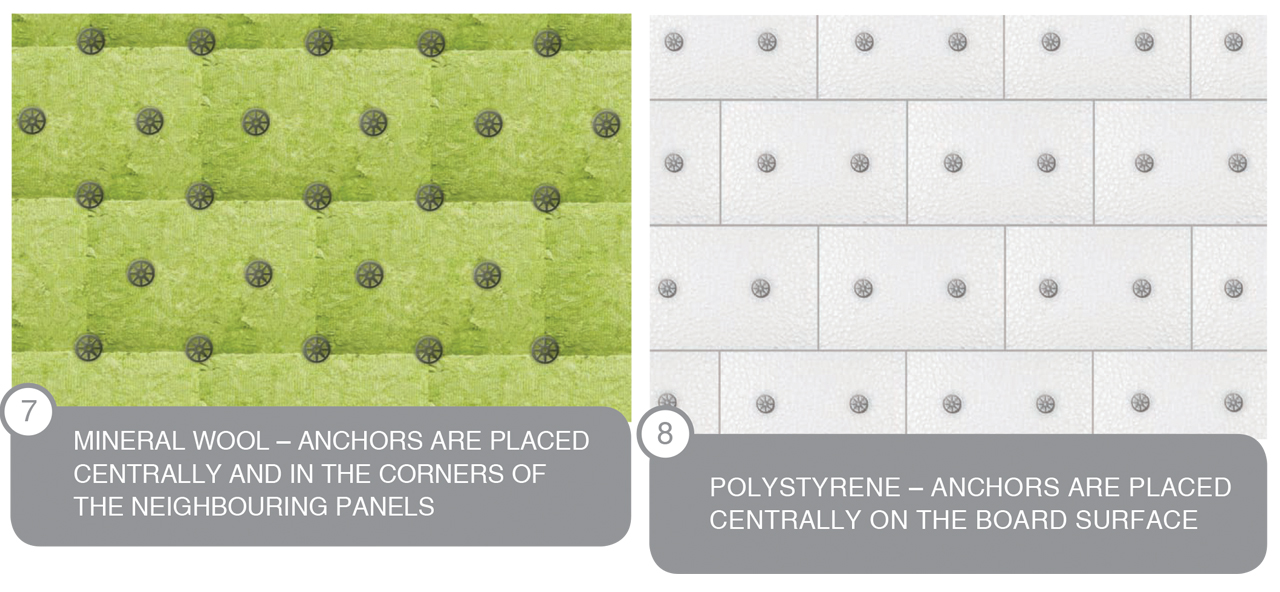
Due to the considerable weight of the mineral wool panels, in systems based on this material the anchors are fixed immediately after the installation of the thermal insulation. They are placed centrally and in the corners of the neighbouring panels (il. 7). In contrast to a system based on the mineral wool, in a system based on polystyrene anchoring can commence only after 2-3 days (this period may extend due to weather conditions, e.g. high humidity). Adhesive must harden enough to prevent polystyrene boards from shifting during drilling holes for fasteners. Anchors are placed centrally on the surface of the board (il. 8). In any untypical project (e.g. high buildings corners, exposed to strong wind, facades of buildings standing in the areas of mining damage) the number and location of fasteners should be determined by the designer of the insulation. Please note that any insulation or thermal modernization should be considered individually and in case of doubt, consulted with people of knowledge and experience as the proper adhesion of the insulation layer is a key contributor to the insulation effect. At this point, we completed the process of installation of the insulation layer. The next step will be executionof reinforcement layer (basecoat).
DICTIONARY:
*thermo-modernization versus thermo-insulation
The main difference between thermo-modernization and thermo-insulation results from the age and type of building. In the case of buildings designed and constructed with no insulation and modernized with additional insulation of external walls, we are talking about THERMO-MODERNIZATION. On the other hand, on the newly-constructed buildings a layer of thermal insulation is carried at once - then we are talking about INSULATION (thermo-insulation). Their main task is to eliminate the phenomenon of freezing of external walls by insulating them.
*thermal bridging - a place of reduced insulation properties.
Related Products
-
![Plastic Cutter WK-FT for Styrofoam panels]()
-
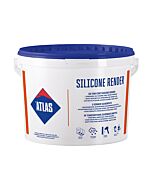
![silicone-render-ATLAS]() Silicone render Atlas SAH N15 dotted white 25kg£71.40 / bucket £59.50 / bucket£61.20 / bucket£51.00 / bucket
Silicone render Atlas SAH N15 dotted white 25kg£71.40 / bucket £59.50 / bucket£61.20 / bucket£51.00 / bucket -
![Polystyrene insulation render fixing plug LTX 10x120mm]() Polystyrene insulation render fixing plug LTX 10x120mm£0.24 / pcs £0.20 / pcs£0.20 / pcs£0.17 / pcs
Polystyrene insulation render fixing plug LTX 10x120mm£0.24 / pcs £0.20 / pcs£0.20 / pcs£0.17 / pcs -
![EPS Basecoat Adhesive ATLAS HOTER U grey 25kg]()
-
![EPS Basecoat Adhesive ATLAS HOTER U white 25kg]()
-
![Adhesive mortar for polystyrene panel XPS ATLAS STOPTER K-20 25kg]() Adhesive mortar for polystyrene panel XPS ATLAS STOPTER K-20 25kg£19.96 / bag £16.63 / bag£17.10 / bag£14.25 / bag
Adhesive mortar for polystyrene panel XPS ATLAS STOPTER K-20 25kg£19.96 / bag £16.63 / bag£17.10 / bag£14.25 / bag -
![Base aluminium starter track 103mm 2.5m]()
-
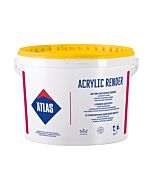
![Acrylic render Atlas SAH N15 dotted white 25kg]() Acrylic render Atlas SAH N15 dotted white 25kg£49.84 / bucket £41.53 / bucket£42.72 / bucket£35.60 / bucket
Acrylic render Atlas SAH N15 dotted white 25kg£49.84 / bucket £41.53 / bucket£42.72 / bucket£35.60 / bucket -
![Plastic plug with pin for fixing polystyrene panels LTX10070 10 x 70 mm]() Plastic plug with pin for fixing polystyrene panels LTX10070 10 x 70 mm£0.22 / pcs £0.18 / pcs£0.18 / pcs£0.15 / pcs
Plastic plug with pin for fixing polystyrene panels LTX10070 10 x 70 mm£0.22 / pcs £0.18 / pcs£0.18 / pcs£0.15 / pcs -
![Polystyrene insulation render fixing plug LTX 10x90mm]() Polystyrene insulation render fixing plug LTX 10x90mm£0.22 / pcs £0.18 / pcs£0.18 / pcs£0.15 / pcs
Polystyrene insulation render fixing plug LTX 10x90mm£0.22 / pcs £0.18 / pcs£0.18 / pcs£0.15 / pcs -
![Plastic plug with pin for fixing polystyrene panels LTX10110 10x110mm]() Plastic plug with pin for fixing polystyrene panels LTX10110 10x110mm£0.23 / pcs £0.19 / pcs£0.19 / pcs£0.16 / pcs
Plastic plug with pin for fixing polystyrene panels LTX10110 10x110mm£0.23 / pcs £0.19 / pcs£0.19 / pcs£0.16 / pcs -
![Polystyrene insulation render fixing plug LTX 10x140mm]() Polystyrene insulation render fixing plug LTX 10x140mm£0.24 / pcs £0.20 / pcs£0.20 / pcs£0.17 / pcs
Polystyrene insulation render fixing plug LTX 10x140mm£0.24 / pcs £0.20 / pcs£0.20 / pcs£0.17 / pcs -
![Plastic plug with pin for fixing polystyrene boards LTX10160 10x160mm]() Plastic plug with pin for fixing polystyrene boards LTX10160 10x160mm£0.25 / pcs £0.21 / pcs£0.22 / pcs£0.18 / pcs
Plastic plug with pin for fixing polystyrene boards LTX10160 10x160mm£0.25 / pcs £0.21 / pcs£0.22 / pcs£0.18 / pcs -
![Plastic plug with pin for fixing polystyrene panels LTX10180 10 x 180 mm]() Plastic plug with pin for fixing polystyrene panels LTX10180 10 x 180 mm£0.26 / pcs £0.22 / pcs£0.23 / pcs£0.19 / pcs
Plastic plug with pin for fixing polystyrene panels LTX10180 10 x 180 mm£0.26 / pcs £0.22 / pcs£0.23 / pcs£0.19 / pcs -
![Fastener plate for polystyrene panels TD060]()